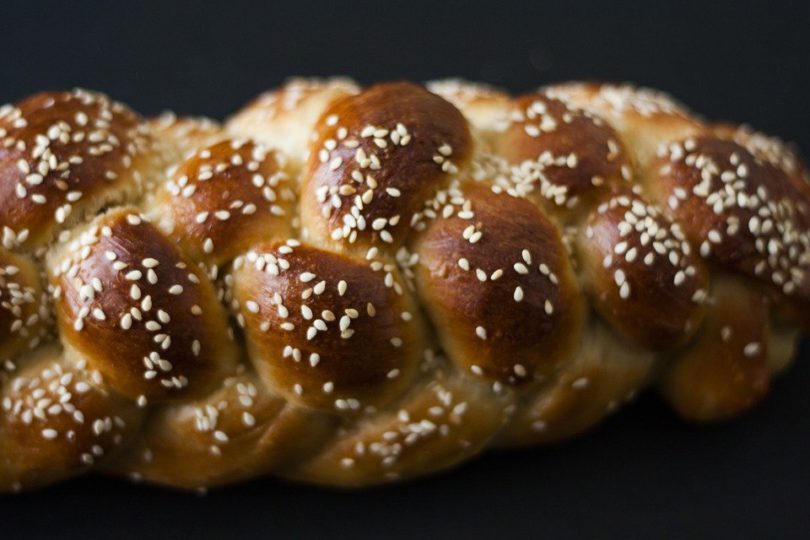
The word ‘challah’ initially means the minute portion of dough that has been placed in an oven when a bread is been baked as a reminder of the destruction of the Temple of Jerusalem. The Challah bread is ideal for those that love eating a bread that is chewy and crisply good looking, not only does the bread looks good it tastes as good as it looks. Challah bread is ideal for several occasions, be it a celebration of traditions or for just a regular Sunday event, once the bread is placed on the dinning table it’ll most definitely catch the eye of any one that looks in its direction. Though straight loaves of braided Challah are mostly eaten, round Challah which are mostly laced with raisins, are served at holydays such as Rosh Hashanah and Sukkot.
The most captivating thing about this bread is that it’s rather very simple to make. It’s not at all complex nor complicated to make though looking at it you might think hell no I can’t replicate this but that’s where you’re wrong. You can easily start simple three-stranded loaves. Though traditionally on most occasions in Israel, long-braided challah loaves are baked in circle. The pro bakers can still make five or six-strand braided loaves and this is not an impossible feet so far as you’ve mastered the steps involved. In the case whereby you’ve remnants you can just put it in a pan store it with a savory or sweet mixture to prepare a nice new meal. Just slice them, add strawberries and whipped cream to give it a sweet taste though if you prefer a savory taste just add some roast beef with a little bit of barbecue sauce.
Ingredients
- 1½ package of active dry yeast which is about 3½ tsp
- 1 tsp salt
- ½ cup of honey
- 5 large eggs
- 1 tsp of poppy or sesame seed
- 8 to 8½ cups of all-purpose flour
- 5 tsp of vegetable oil
Steps involved in making Challah bread
- In a large bowl add the yeast and allow it to dissolve.
- Add the whisked eggs, vegetable oil, honey and salt. Then gradually add the flour one cup at a time, as the dough thickens slowly begin kneading. Keep adding as much flour as required in order to keep kneading nice and smooth, make sure it is no longer sticky then cover with a clean wet cloth for about 70 minutes, until it has doubled in size.
- Knead the dough once more and place it in a floured surface, separate the dough into two and knead each part separately for at least 6 to 7 minutes.
- Now further separate the two halves into thirds and then roll into long logs with a diameter of 1 inch. Pinch the end of the 3 logs together and start braiding. You can either leave them braided or in a circular shape by pinching both ends together. Place them in a tray that has been laced sufficiently with grease, then once again cover with a damp cloth and allow to rise for 45 minutes.
- Beat the remaining eggs with water and then apply them on the loaves, you can choose to sprinkle poppy or sesame seeds on it then heat the oven to about 375F and then place the loaves into the oven, bake for about 45 minutes until the loaves turn golden. Wait till the bread has cooled before slicing.
Storage
You can wrap up the bread in a foil and place it in a cool, warm place.

